

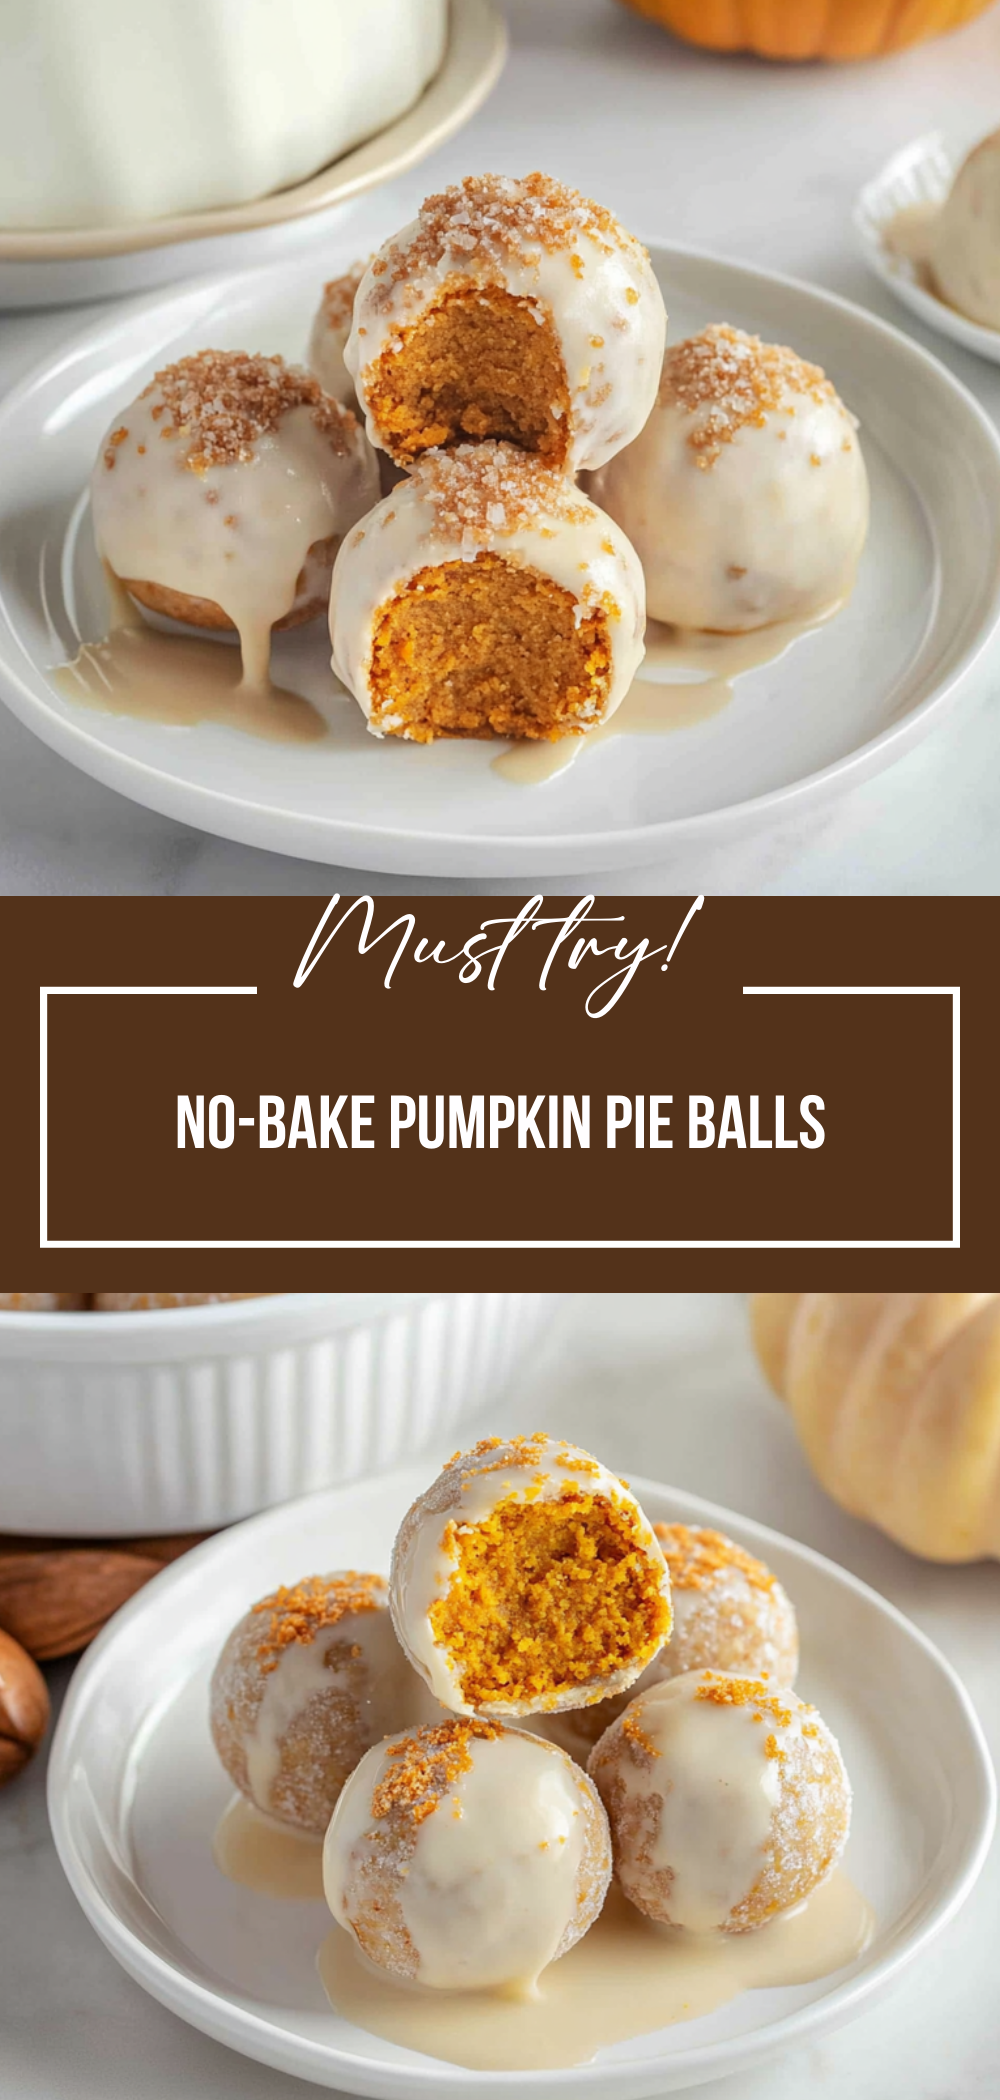
Turn leftover Thanksgiving pie into bite-sized heaven with these No-Bake Pumpkin Pie Balls. A whole new way to enjoy pumpkin pie, these delightful treats are easy to make and perfect for sharing.
These No-Bake Pumpkin Pie Balls combine the rich flavors of pumpkin pie with a sweet candy coating, resulting in a mouthwatering dessert that everyone will love. Whether you’re hosting a gathering or simply indulging at home, these little bites of bliss are sure to impress.
Why You'll Love This No-Bake Pumpkin Pie Balls
- This incredible No-Bake Pumpkin Pie Balls transforms simple ingredients into restaurant-quality flavors that will blow your mind.
Foolproof techniques guarantee perfect results every single time making even novice cooks feel like professional chefs.
Stunning visual appeal with gorgeous colors creates the ultimate Instagram-worthy dish for any occasion.
Endlessly adaptable for different dietary needs while working beautifully for meal prep or entertaining groups effortlessly.
Ingredients for No-Bake Pumpkin Pie Balls
Here is what you will need to make this delicious No-Bake Pumpkin Pie Balls:
1 (9-inch) baked and chilled pumpkin pie: Store-bought is great!
1 (16 ounce) package vanilla candy coating or almond bark: Select your favorite for coating.
How to Make No-Bake Pumpkin Pie Balls
Follow these simple steps to prepare this delicious No-Bake Pumpkin Pie Balls:
Step 1: Reserve Crust Crumbles
Reserve some of the pie crust to crumble on the balls after you coat them in the candy coating. This adds a lovely texture and enhances the overall flavor of your No-Bake Pumpkin Pie Balls.
Step 2: Mix the Filling
Break up chilled pie (filling and crust) into the bowl of an electric mixer and beat on low speed until it all comes together in a moist ball. If you prefer, you can also do this step using your hands in a large bowl, providing a more tactile approach to mixing.
Step 3: Shape the Balls
Roll the pie mixture into 2-tablespoon sized balls and place them on a parchment-lined baking sheet. After shaping, place the pie balls in the freezer for about 30 minutes or refrigerate them for 2 hours, allowing them to firm up before coating.
Step 4: Melt Candy Coating
Melt candy coating according to package directions in a shallow bowl. Dip one pie ball at a time into the melted candy coating, using a fork to turn it around until completely coated, ensuring an even layer covers each ball.
Step 5: Coat and Garnish
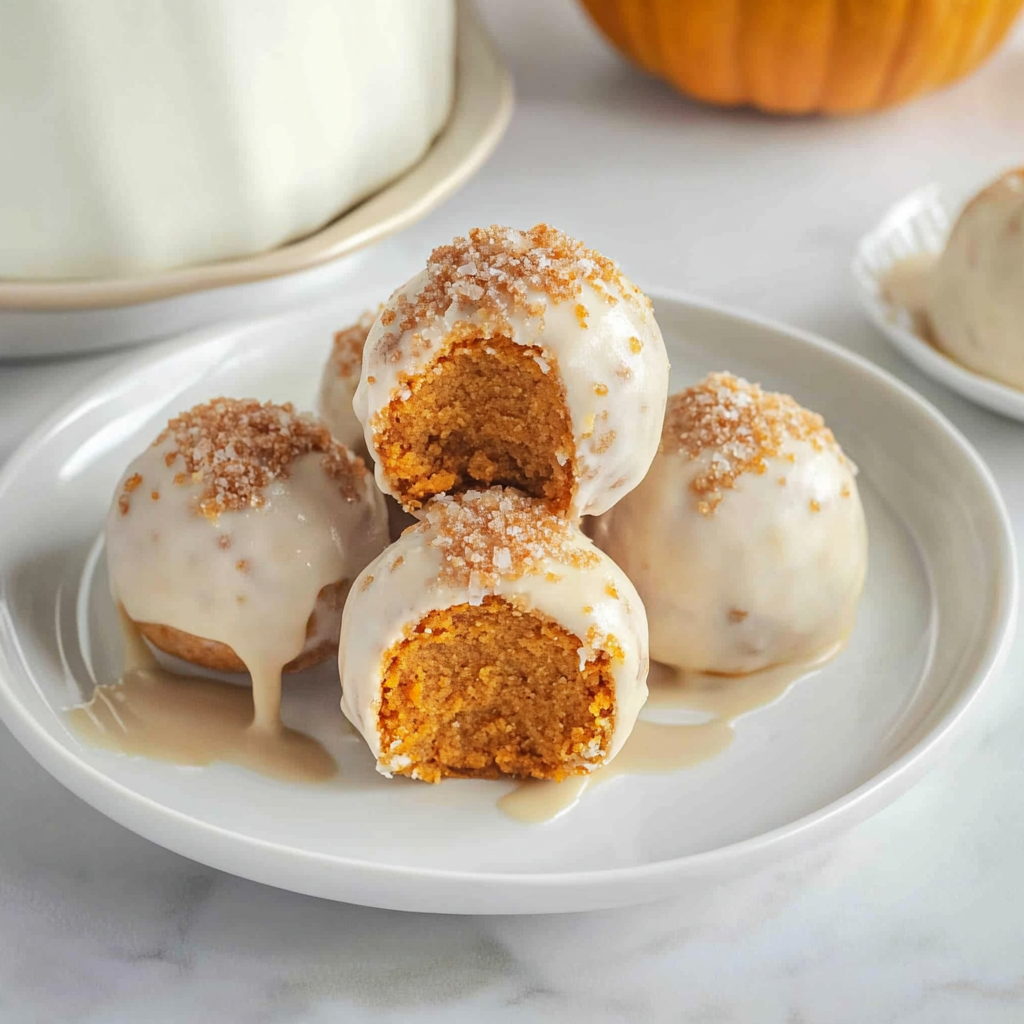
Gently lift the coated pie ball from the candy coating with the fork and let any excess drip back into the bowl. Transfer back to the parchment-lined baking sheet and immediately sprinkle with some of the reserved pie crust crumbles, adding both flavor and visual appeal.
Step 6: Set and Serve
Let the pie balls rest until the candy coating is completely set. Once ready, enjoy these scrumptious bites as a delightful treat any time!
Perfecting No-Bake Pumpkin Pie Balls Cooking Process
Creating No-Bake Pumpkin Pie Balls is not only fun but can also be efficient. By prepping your ingredients and following the steps methodically, you can streamline the process. The key is to keep everything organized and ready to go, allowing you to enjoy the delightful experience of making these treats without unnecessary delays.
Add Your Touch to No-Bake Pumpkin Pie Balls
Feel free to get creative with your No-Bake Pumpkin Pie Balls by adding unique flavors or toppings. You might incorporate spices like cinnamon or nutmeg into the mix for an extra kick. Consider rolling them in crushed nuts, sprinkles, or even drizzling with chocolate for added flair. The options are endless!

Perfect Results, Every Single Time! 🌡️
Never serve dry or undercooked food again. The Chef-X Digital Probe gives you an accurate temperature reading in under 3 seconds. It's the secret tool I use for perfect steaks, juicy chicken, and safe milk temperatures.
Storing and Reheating No-Bake Pumpkin Pie Balls
To keep your No-Bake Pumpkin Pie Balls fresh, store them in an airtight container in the refrigerator. They can last up to a week, making them perfect for snacks or desserts throughout the week. If you want to extend their shelf life, consider freezing them for longer storage.
Chef's Helpful Tips for No-Bake Pumpkin Pie Balls
One Thanksgiving, I transformed leftover pumpkin pie into these delightful bite-sized treats that disappeared within minutes at a family gathering. Everyone loved them!
FAQs About No-Bake Pumpkin Pie Balls
What is No-Bake Pumpkin Pie Balls?
No-Bake Pumpkin Pie Balls are a creative way to repurpose leftover pumpkin pie into delicious bite-sized treats without needing an oven. They consist of crumbled pie mixed with candy coating, making them easy to prepare and perfect for any occasion.
Can I use homemade pumpkin pie for this recipe?
Absolutely! While store-bought pumpkin pie works well, using homemade pumpkin pie allows you to customize flavors and ingredients according to your preference. Just ensure it’s completely chilled before processing it into balls.
How long do No-Bake Pumpkin Pie Balls last?
When stored properly in an airtight container in the refrigerator, No-Bake Pumpkin Pie Balls can last up to a week. For longer storage, they can be frozen for several months; just allow them to thaw before enjoying.
Can I make these ahead of time?
Definitely! In fact, making No-Bake Pumpkin Pie Balls ahead of time can enhance their flavors as they sit and meld together. Prepare them a day or two in advance and store them in the refrigerator until you’re ready to serve.
Conclusion for No-Bake Pumpkin Pie Balls
No-Bake Pumpkin Pie Balls are a deliciously inventive way to enjoy leftover pumpkin pie after Thanksgiving festivities. These bite-sized treats are simple to make and offer endless possibilities for customization. Whether you stick with classic flavors or experiment with new ones, these delightful morsels will surely impress friends and family alike!
No-Bake Pumpkin Pie Balls
Ingredients
Method
- Reserve some of the pie crust to crumble on the balls after you coat them in the candy coating.
- Break up chilled pie (filling and crust) into the bowl of an electric mixer and beat on low speed until it all comes together in a moist ball.
- Roll the pie mixture into 2-tablespoon sized balls and place them on a parchment-lined baking sheet.
- Melt candy coating according to package directions in a shallow bowl. Dip one pie ball at a time into the melted candy coating.
- Gently lift the coated pie ball from the candy coating with the fork and let any excess drip back into the bowl.
- Let the pie balls rest until the candy coating is completely set.


Leave a Comment