

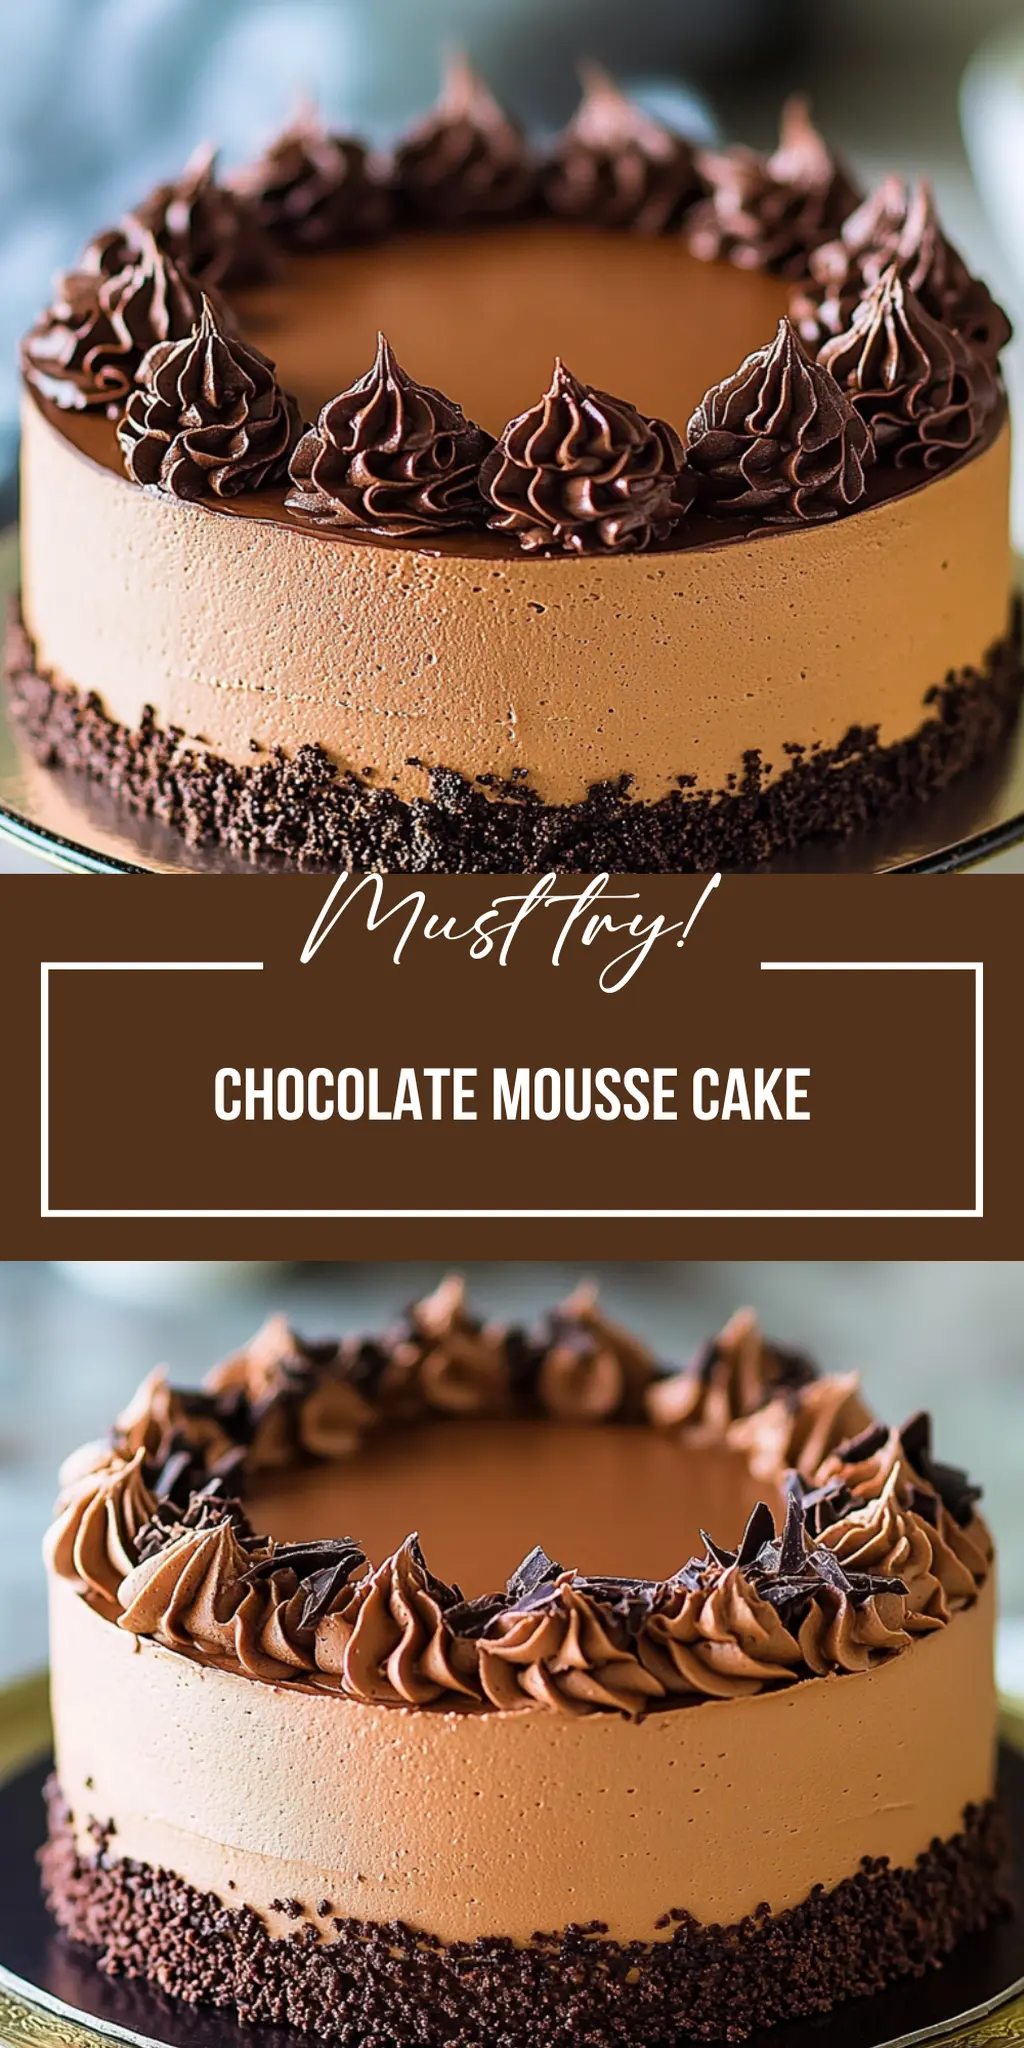
The sun breaks through the clouds, casting a warm glow in your kitchen, where the aroma of rich chocolate lingers in the air. It’s the perfect time for a spectacular dessert, and a Chocolate Mousse Cake is just the thing to melt the hearts of everyone at the table. Picture the first slice: a decadent, velvety interior that practically begs you to indulge, topped with a dreamy layer of whipped cream. Each bite is a heavenly experience that transports you to a chocolate lover’s paradise.
There’s something magical about a Chocolate Mousse Cake; it’s a dessert that whispers sweet nothings while simultaneously delivering a satisfying burst of rich chocolate flavor. Making it is as rewarding as eating it, and whether you’re celebrating a birthday, impressing guests, or just treating yourself on a Friday night, this cake is bound to become a favorite memory. So, grab your mixing bowls and let’s dive into this enchanting world of chocolate delight!
Why You'll Love This Chocolate Mousse Cake
- This incredible Chocolate Mousse Cake transforms simple everyday ingredients into restaurant-quality flavors that will blow your mind completely.
- Foolproof recipe techniques guarantee perfect results every single time, making even novice cooks feel like professional chefs instantly.
- Stunning visual appeal with gorgeous colors and mouthwatering aromas creates the ultimate Instagram-worthy dish for any special occasion.
- Endlessly adaptable for different dietary needs while working beautifully for meal prep, date nights, or entertaining large groups effortlessly.
Ingredients for Chocolate Mousse Cake
Here’s what you’ll need to make this delicious Chocolate Mousse Cake:
6 oz dark chocolate – Choose chocolate with at least 70% cocoa for the richest flavor; avoid chocolate chips as they don’t melt as smoothly.
4 large eggs – Fresh eggs create structure and stability, making your mousse cake light and airy.
1 cup granulated sugar – This sweetener balances the bitterness of the dark chocolate, enhancing the flavor profile.
½ cup unsalted butter – Butter adds richness and a smooth texture; using unsalted allows for more control over the cake’s final flavor.
1 tsp pure vanilla extract – The secret ingredient that elevates the cake’s flavor to divine levels.
1 cup heavy cream – Whipped to perfection, the cream will create a light and fluffy mousse that perfectly complements the cake.
How to Make Chocolate Mousse Cake
Follow these simple steps to prepare this delicious Chocolate Mousse Cake:
Step 1: Preheat and Prepare
Preheat your oven to 350°F (175°C). Grease and line an 8-inch round baking pan with parchment paper. This will make sure your beautiful cake slides out easily!
Step 2: Melt the Chocolate and Butter
In a microwave-safe bowl, combine the dark chocolate and butter. Microwave in short bursts, stirring frequently until the mixture is smooth and glossy. You want it to be perfectly blended, like the best of friends.
Step 3: Whisk the Eggs and Sugar
In a separate bowl, whisk together the eggs and granulated sugar until pale and fluffy, about 5 minutes. If it looks like sunshine in a bowl, you’re on the right track. This creates a lovely base for your mousse.
Step 4: Combine Chocolate and Egg Mixtures
Gently fold the melted chocolate into the egg mixture using a spatula. Take your time with this step — you want to keep that airy texture intact, like cradling a fluffy cloud.
Step 5: Whip the Cream
In another bowl, whip the heavy cream until soft peaks form. Then, fold it into the chocolate mixture until just combined, being careful not to deflate all that glorious air. This is where the magic really happens: luxuriously smooth mousse!
Step 6: Bake and Cool
Pour the batter into your prepared pan and bake for 25-30 minutes, until set but slightly jiggly in the center. Let it cool completely before removing it from the pan. Patience is key here — the longer you wait, the better it will taste.
Once cooled, you can serve it as is or add extras like fresh fruit, whipped cream, or even a sprinkle of sea salt to enhance its flavors.
This Chocolate Mousse Cake is perfect for birthdays, anniversaries, or just a Monday to kick off your week in style. So why not indulge in a slice (or two) and share the love? Enjoy the process and the flavor explosion that follows, and let your taste buds rejoice!

Perfect Results, Every Single Time! 🌡️
Never serve dry or undercooked food again. The Chef-X Digital Probe gives you an accurate temperature reading in under 3 seconds. It's the secret tool I use for perfect steaks, juicy chicken, and safe milk temperatures.
You Must Know About Chocolate Mousse Cake
- This showstopping Chocolate Mousse Cake delivers restaurant-quality results using simple ingredients you probably already have at home.
- The perfect balance of textures and flavors creates an unforgettable dining experience that will have everyone asking for seconds.
- Picture-perfect presentation with vibrant colors makes this dish absolutely Instagram-worthy and guaranteed to impress any dinner guest.
- Incredibly versatile recipe that works beautifully for weeknight dinners, meal prep, special occasions, or even outdoor entertaining sessions.
Perfecting Chocolate Mousse Cake Cooking Process
Begin by melting the dark chocolate and butter together, while simultaneously whipping the eggs and sugar. This will ensure a silky-smooth batter and save you time. Once everything is ready, fold in the ingredients gently for a light and airy cake.
Add Your Touch to Chocolate Mousse Cake
Feel free to experiment with different types of chocolate, such as semi-sweet or milk chocolate, for varying sweetness. Add a pinch of espresso powder to enhance the chocolate flavor, or fold in some crushed berries for a fruity twist.
Storing & Reheating Chocolate Mousse Cake
Cover and store leftover Chocolate Mousse Cake in the refrigerator for up to three days. To reheat, let it sit at room temperature for about 15 minutes before serving, ensuring the flavors are at their peak.
Chef's Helpful Tips for Chocolate Mousse Cake
- This professional-quality Chocolate Mousse Cake relies on precise timing and temperature control to achieve restaurant-standard results consistently.
- Master the art of mise en place by prepping all ingredients beforehand, ensuring smooth execution and preventing any last-minute cooking disasters.
- The secret lies in layering flavors throughout the cooking process rather than seasoning only at the end for maximum depth.
- Pro tip: let the finished dish rest for optimal texture and flavor development before serving to hungry guests waiting eagerly.
Sharing this recipe brings back fond memories of the first time I made it for a dinner party. My friends devoured it in minutes, and the compliments just kept coming, turning a simple gathering into a deliciously memorable experience.
FAQs About Chocolate Mousse Cake
What is Chocolate Mousse Cake?
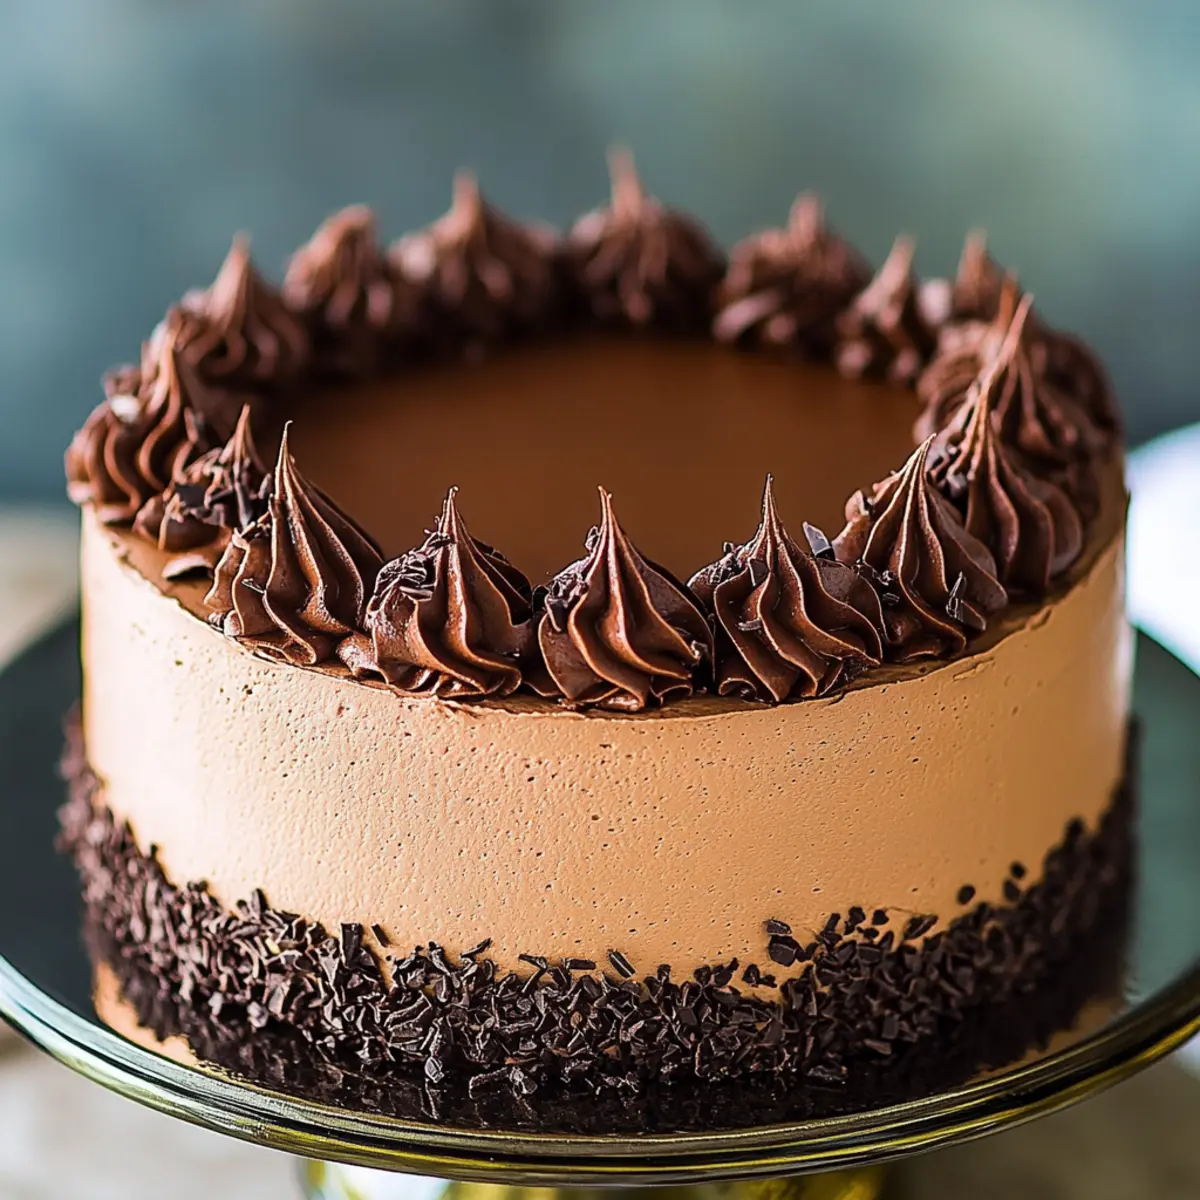
Chocolate Mousse Cake is a rich and decadent dessert that combines layers of light chocolate mousse with a soft, fluffy cake base. This delightful treat is typically made with dark chocolate, eggs, sugar, butter, vanilla extract, and heavy cream. The result is a beautifully textured cake that is both indulgent and airy. Perfect for chocolate lovers, this cake not only satisfies your sweet tooth but also brings a touch of elegance to any dining occasion. When served chilled, it becomes a refreshing and luxurious dessert that is simply irresistible.
How do you store leftover Chocolate Mousse Cake?
To store leftover Chocolate Mousse Cake, cover it tightly with plastic wrap or place it in an airtight container. Keep it in the refrigerator, where it will stay fresh for up to three days. Be sure to let the cake sit at room temperature for about 15 minutes before serving if you plan to reheat or enjoy it again. This allows the flavors and textures to come back to life, ensuring that each bite remains as delightful as the first time you shared it.
Can I make Chocolate Mousse Cake ahead of time?
Absolutely! Making Chocolate Mousse Cake ahead of time is a great way to save yourself stress on the day of a celebration. You can prepare the cake and store it in the refrigerator for up to three days before serving. It’s best to let it set overnight for the flavors to develop beautifully. Just make sure to cover it well to keep it fresh. When you’re ready to serve, you can garnish it with fresh berries or whipped cream for an extra special touch.
What can I add to enhance my Chocolate Mousse Cake?
To elevate your Chocolate Mousse Cake, consider adding espresso powder to boost the chocolate flavor or folding in crushed berries for a fruity twist. You can also experiment with different types of chocolate, such as semi-sweet or even white chocolate, to vary the sweetness and richness of the cake. To complement the mousse, a drizzle of caramel sauce or a sprinkle of sea salt can bring out the cake’s depth, offering a unique taste experience that guests will love.
Conclusion for Chocolate Mousse Cake
In conclusion, Chocolate Mousse Cake is a delightful dessert perfect for any occasion. Its rich chocolate flavor combined with an airy texture makes it a favorite among dessert lovers. Whether you make it for a special gathering or simply indulge in a slice on a weeknight, this cake is sure to impress. Remember to store your leftovers properly and consider making it a day in advance for maximum flavor. Enjoy every rich bite of this stunning Chocolate Mousse Cake!
Decadent Chocolate Mousse Cake Recipe for Chocolate Lovers
Ingredients
Equipment
Method
- Preheat oven to 350°F (175°C). Grease and line an 8-inch round baking pan with parchment paper.
- Melt the dark chocolate and butter together in a microwave-safe bowl, stirring frequently until smooth.
- In another bowl, whisk eggs and sugar until pale and fluffy (about 5 minutes).
- Gently fold the melted chocolate into the egg mixture using a spatula.
- Stir in vanilla extract. In a separate bowl, whip heavy cream until soft peaks form, then fold it into the chocolate mixture until just combined.
- Pour batter into the prepared pan and bake for 25-30 minutes until set but slightly jiggly in the center. Cool completely before removing from the pan.


Leave a Comment