

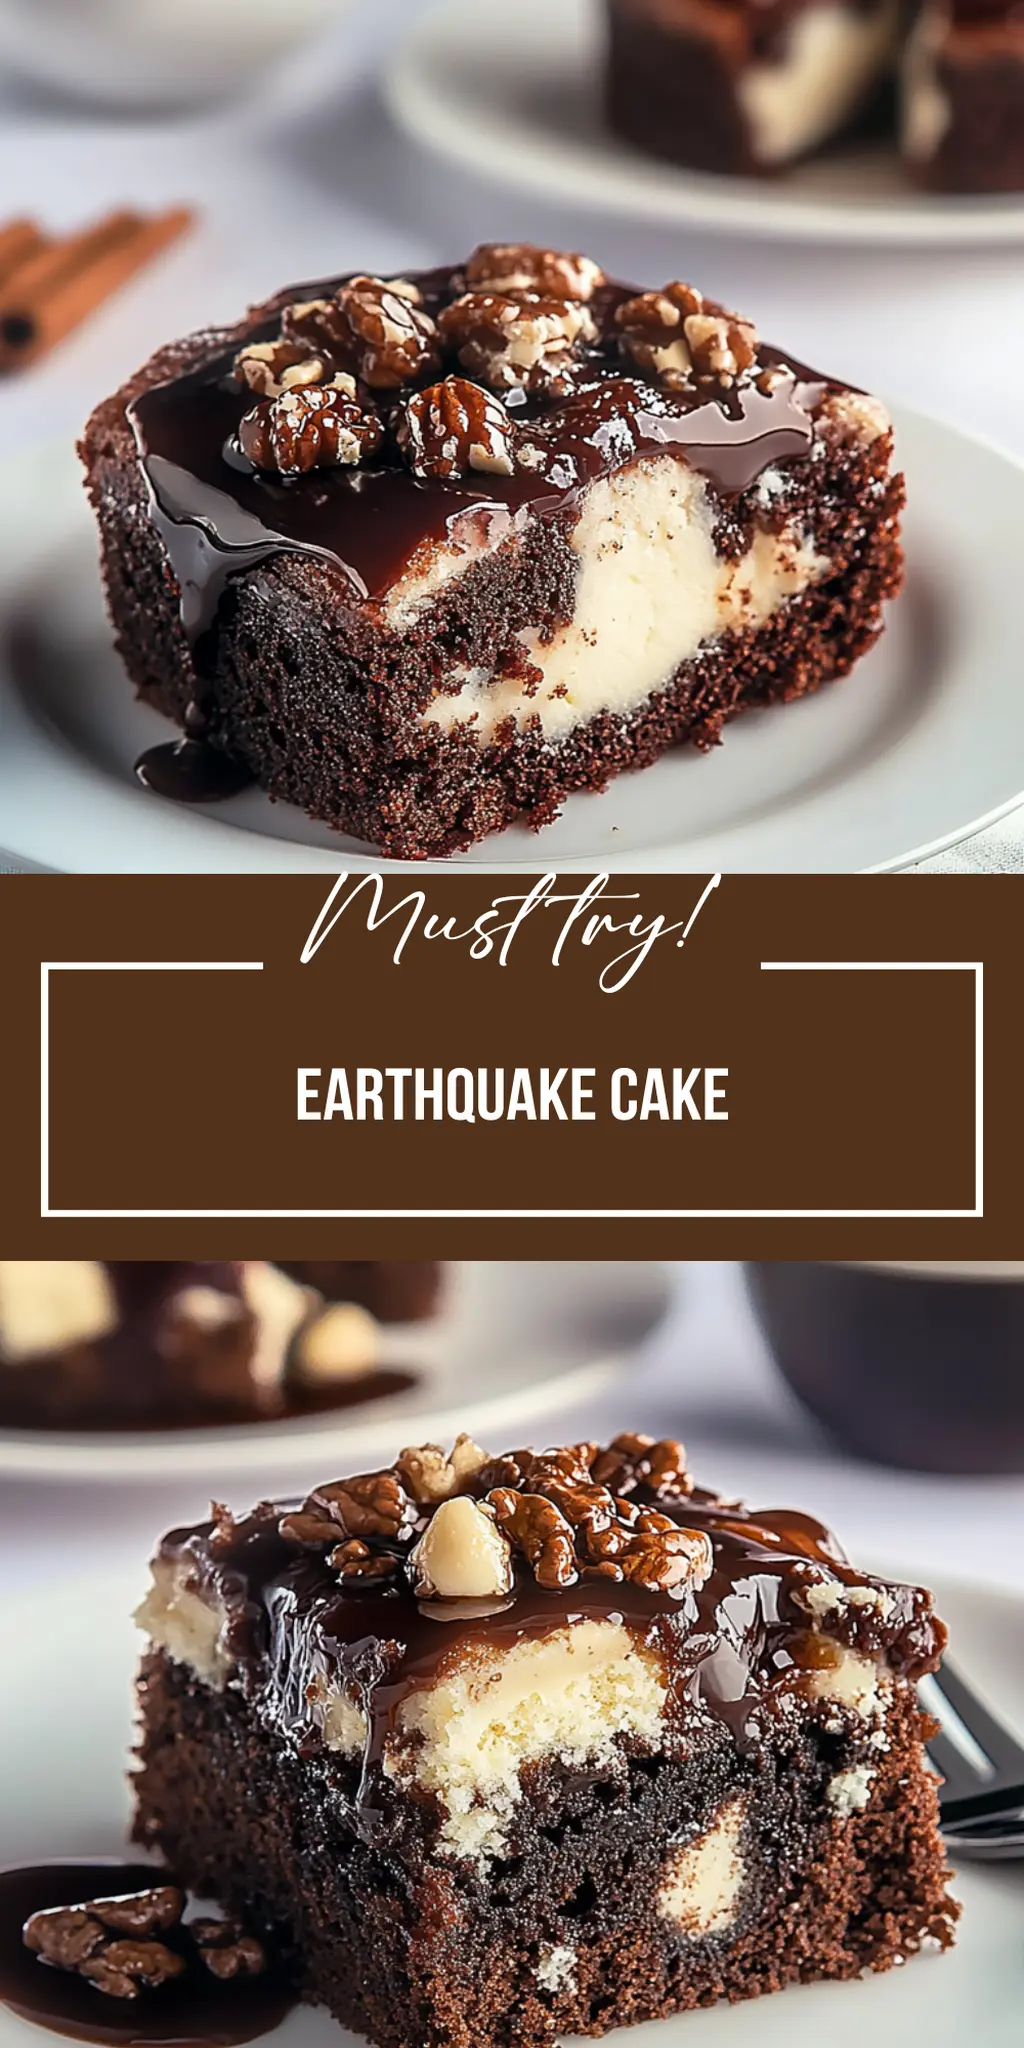
There’s something truly magical about baking that calls to all the senses, and this Earthquake Cake is no exception. Imagine a warm, chocolatey cake swirled with creamy goodness of cream cheese and punctuated by crunchy nuts, all coming together in a chaotic eruption of flavors that’s simply irresistible. Just the aroma wafting from your oven will have everyone gathering in the kitchen, desperately hoping for a taste as it bakes to perfection.
Every slice of this cake tells a story of nostalgia, evoking memories of family gatherings and celebrations. Whether it’s just a sunny afternoon snack or the centerpiece of a birthday party, Earthquake Cake brings people together in delightful anticipation. You can practically taste the excitement as the moist chocolate cake mingles with the decadent cream cheese swirl—what’s not to love?
Why You'll Love This Earthquake Cake
- This incredible Earthquake Cake transforms simple everyday ingredients into restaurant-quality flavors that will blow your mind completely.
- Foolproof recipe techniques guarantee perfect results every single time, making even novice cooks feel like professional chefs instantly.
- Stunning visual appeal with gorgeous colors and mouthwatering aromas creates the ultimate Instagram-worthy dish for any special occasion.
- Endlessly adaptable for different dietary needs while working beautifully for meal prep, date nights, or entertaining large groups effortlessly.
Ingredients for Earthquake Cake
Here’s what you’ll need to make this delicious Earthquake Cake:
1 box (15.25 oz) chocolate cake mix – A convenient base that provides rich chocolate flavor and moisture without the fuss.
3 large eggs – These will help bind everything together, providing structure to your cake.
1/2 cup vegetable oil – Adds moistness and richness, ensuring your cake is tender and flavorful.
1 cup room temperature water – This helps to thin out the batter and activates the dry ingredients, making it easier to blend.
8 oz cream cheese, softened – This is the star of the show, adding that delicious creamy swirl that takes this cake to the next level.
2 cups powdered sugar (sifted) – Sweetens the cream cheese mixture and gives it the perfect texture for swirling.
1 cup chopped walnuts or pecans (toasted) – Adds a delightful crunch and nutty flavor that balances the sweetness of the cake.
1 cup semi-sweet chocolate chips – Extra bursts of chocolate make this cake even more indulgent and delicious.
How to Make Earthquake Cake
Follow these simple steps to prepare this delicious Earthquake Cake:
Step 1: Preheat the Oven
Start by preheating your oven to 350°F (175°C). Grease a 9×13-inch baking dish with non-stick spray.
Step 2: Prepare the Cake Batter
In a large mixing bowl, combine the chocolate cake mix, water, eggs, and vegetable oil. Whisk everything together until smooth, ensuring no dry mix remains.
Step 3: Make the Cream Cheese Mixture
In a separate bowl, blend the softened cream cheese and sifted powdered sugar until creamy and free of lumps. You want it smooth enough to dollop but thick enough to retain some shape.
Step 4: Layer the Ingredients
Pour half of the chocolate batter into the prepared dish, spreading it evenly. Then, add dollops of the cream cheese mixture on top and use a knife to swirl it gently through the chocolate. Sprinkle the chopped nuts and chocolate chips over the top layer.
Step 5: Bake the Cake
Place the dish in the preheated oven and bake for 30-35 minutes. You want a toothpick inserted in the edges to come out clean while the center is still slightly gooey.
Step 6: Cool and Serve
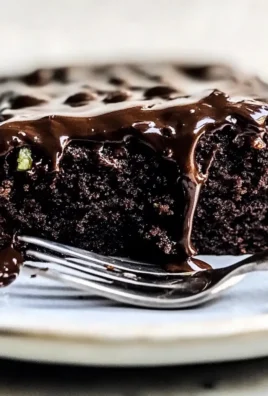
Allow the cake to cool for about 10 minutes before slicing it into squares. Serve it warm for the best flavor experience, and enjoy the delightful contrasts of textures and flavors.
With every bite of this Earthquake Cake, you’ll unleash a delightful explosion of chocolate and cream cheese that will have your taste buds dancing. Whether you keep it all for yourself or share with friends and family, you can’t go wrong with this crowd-pleaser!

Perfect Results, Every Single Time! 🌡️
Never serve dry or undercooked food again. The Chef-X Digital Probe gives you an accurate temperature reading in under 3 seconds. It's the secret tool I use for perfect steaks, juicy chicken, and safe milk temperatures.
You Must Know About Earthquake Cake This showstopping Earthquake Cake delivers restaurant-quality results using simple ingredients you probably already have at home. The perfect balance of textures and flavors creates an unforgettable dining experience that will have everyone asking for seconds. Picture-perfect presentation with vibrant colors makes this dish absolutely Instagram-worthy and guaranteed to impress any dinner guest. Incredibly versatile recipe that works beautifully for weeknight dinners, meal prep, special occasions, or even outdoor entertaining sessions.
Perfecting Earthquake Cake Cooking Process
To achieve the best results with Earthquake Cake, start by preheating your oven and greasing your baking dish. Mix the cake ingredients in one bowl while preparing the cream cheese mixture in another to streamline the process.
Add Your Touch to Earthquake Cake
Feel free to customize your Earthquake Cake by swapping in different nuts, using flavored chocolate chips, or even adding a sprinkle of cinnamon for a warm twist. You can also try adding a layer of caramel or fruit preserves.
Storing & Reheating Earthquake Cake
To store your Earthquake Cake, cover it tightly with plastic wrap or aluminum foil and keep it in the refrigerator for up to five days. Reheat individual slices briefly in the microwave for a warm treat.
Chef's Helpful Tips for Earthquake Cake
- This professional-quality Earthquake Cake relies on precise timing and temperature control to achieve restaurant-standard results consistently.
- Master the art of mise en place by prepping all ingredients beforehand, ensuring smooth execution and preventing any last-minute cooking disasters.
- The secret lies in layering flavors throughout the cooking process rather than seasoning only at the end for maximum depth.
- Pro tip: let the finished dish rest for optimal texture and flavor development before serving to hungry guests waiting eagerly.
Some of my fondest memories are when I shared this Earthquake Cake with my friends during a weekend gathering. Their delighted squeals and requests for seconds made all my baking efforts worthwhile.
FAQs About Earthquake Cake
What is Earthquake Cake?
Earthquake Cake is a delightful dessert that combines a rich chocolate cake with a luscious cream cheese layer, topped with buttery nuts and semi-sweet chocolate chips. This dessert gets its name from the way the cream cheese mixture swirls into the cake batter, creating a “tectonic” effect reminiscent of an earthquake. It’s a chocolate lover’s dream and offers a perfect blend of textures and flavors. With its inviting presentation, Earthquake Cake is perfect for gatherings or a cozy night in.
How do I make Earthquake Cake from scratch?
To make Earthquake Cake, start by preheating your oven and preparing a baking dish. Use a chocolate cake mix for convenience, mixing it with eggs, oil, and water until smooth. Then, create a creamy layer using softened cream cheese and powdered sugar. Pour half the chocolate batter into the dish, add dollops of cream cheese on top, and swirl gently. Sprinkle nuts and chocolate chips, bake, and you will have a showstopper cake ready to wow your guests.
What type of nuts can I use in Earthquake Cake?
While traditional Earthquake Cake features walnuts or pecans, the beauty of this recipe is its versatility. You can customize your cake by using almonds for a milder flavor or macadamia nuts for a tropical twist. Feel free to experiment with different nut combinations or even add a sprinkle of toasted coconut for added texture. No matter the nuts you choose, they will enhance the cake’s taste and provide a delightful crunch.
How should I store my Earthquake Cake?
To keep your Earthquake Cake fresh, store it in the refrigerator, wrapped tightly in plastic wrap or aluminum foil. Properly stored, it will last for up to five days. If you want to enjoy it warm, slice individual pieces and reheat them in the microwave for about 10-15 seconds. This way, you can savor the cake’s decadent creaminess and rich chocolate flavor any time you’re craving a sweet treat.
Conclusion for Earthquake Cake
In summary, Earthquake Cake is a magnificent dessert that combines the fluffiness of chocolate cake with the creamy richness of cream cheese. It’s a versatile recipe allowing for personal touches, whether through nut choices or chocolate varieties. This Earthquake Cake is not only easy to make, but it also delivers a mouthwatering experience that’s perfect for any occasion. Don’t hesitate to whip up this delightful treat; it will surely become a favorite among your family and friends.

Delicious Earthquake Cake Recipe with Cream Cheese Swirl
Ingredients
Equipment
Method
- Preheat the oven to 350°F (175°C) and grease a 9x13-inch baking dish.
- In a large bowl, mix the cake mix, water, eggs, and vegetable oil until smooth.
- In a separate bowl, combine softened cream cheese and powdered sugar until creamy.
- Pour half of the chocolate batter into the prepared dish. Add dollops of the cream cheese mixture on top and swirl gently.
- Sprinkle chopped nuts and chocolate chips over the top layer.
- Bake for 30-35 minutes until a toothpick comes out clean from the edges but slightly gooey in the center.
- Cool for about 10 minutes before slicing into squares.


Leave a Comment